


How to Install an EV Charging Point at Home
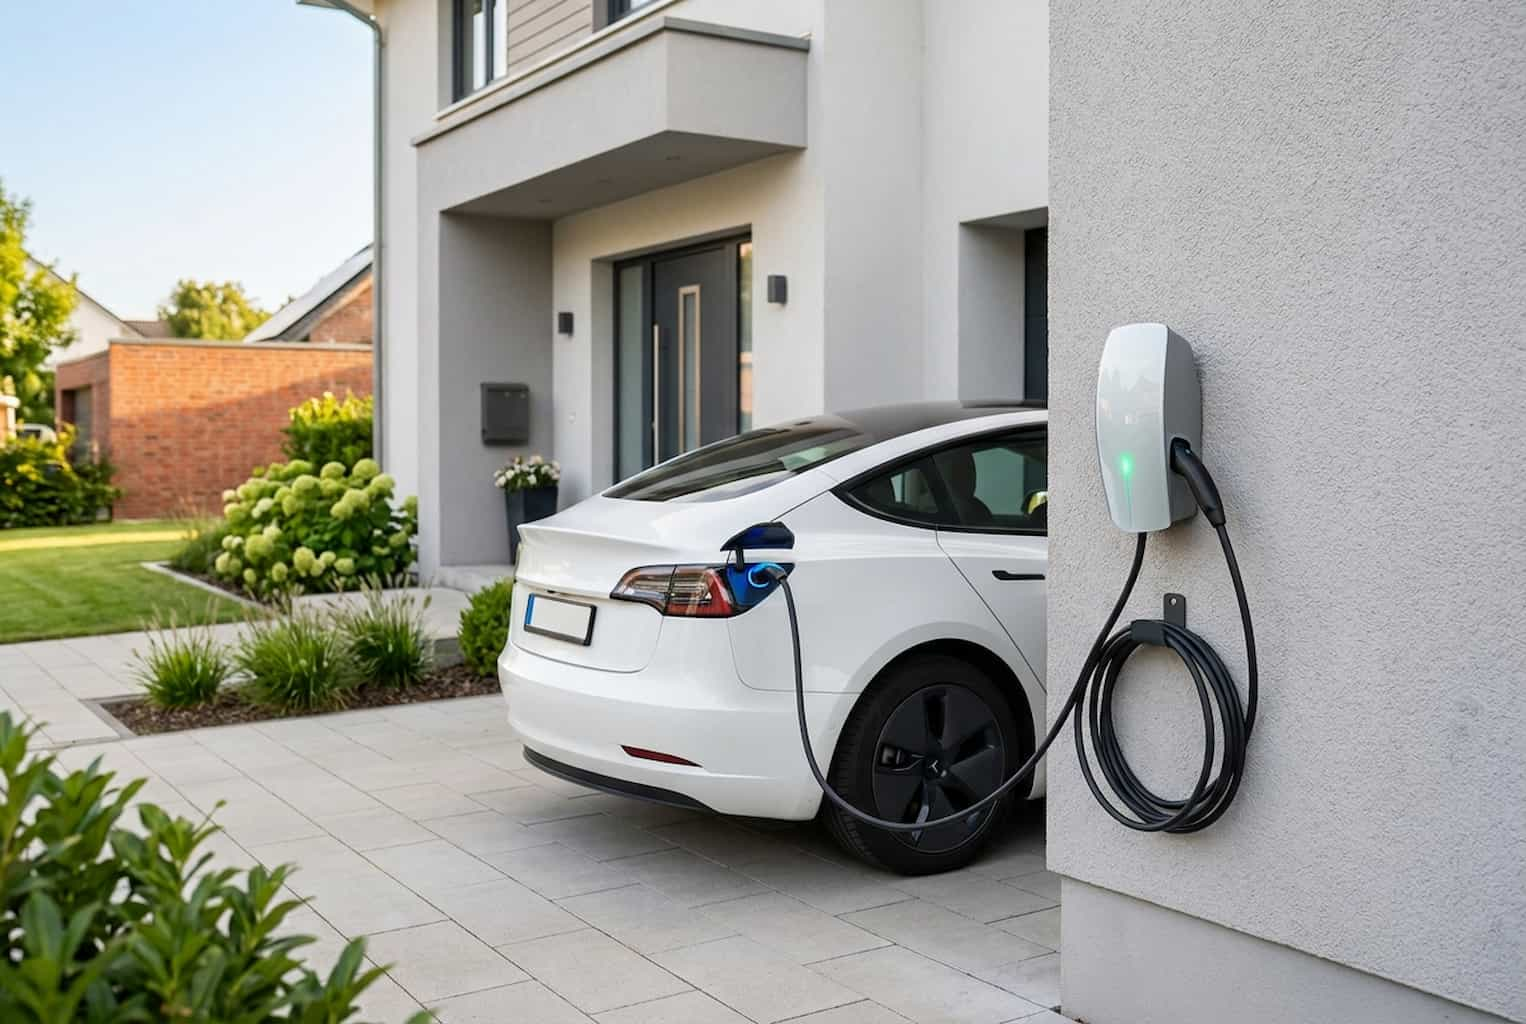
Installing an electric vehicle charging point at home is becoming more common and more necessary. If you have just bought an electric car or are thinking about it, you need to understand which type of charger suits you, what technical requirements your home must meet and what the installation process actually involves. This guide explains how to do it step by step, from the initial check of your electrical installation to the day you plug in your car.
Why is installing a charging point at home essential?
A home charging point lets you charge your electric vehicle overnight, taking advantage of cheaper night-time electricity rates and having the car ready every morning. It is the cheapest and most convenient way to keep your vehicle charged, instead of relying on public charging stations that may be busy or far away. A recent study shows that owners who install a charger at home save between 30% and 50% on their annual charging costs.
Electrical requirements before installation
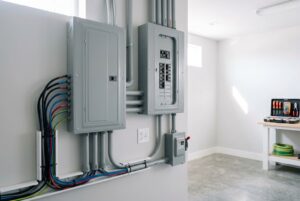
Before booking the installation, you need to check that your home meets three basic technical conditions. The contracted power of your electricity supply must be at least 3.7 kW for a slow charger, 7.4 kW for a standard one, or 11 kW or more if you want a fast charger. If your current contract is lower (for example, 3.45 kW), you will need to ask your distribution company for a power increase, which involves a change to your service connection.
Practical installation steps
The installation process has five clearly defined steps. First, ask a certified electrician for a technical feasibility report: they will check your electrical installation and tell you whether it needs upgrading. Second, if necessary, increase the contracted power by contacting your electricity distribution company (this usually takes 2–3 weeks). Third, hire an authorised installer (with AENOR certification or equivalent) to carry out the work. Fourth, run the functional tests and request the mandatory technical inspection required by local regulations. Fifth, register the installation with the distribution company so that it is officially documented.
Paperwork and permits
Although it may sound bureaucratic, the paperwork is simple if your installer handles it. You will need the installation certificate from the technician, a technical report if the power exceeds certain thresholds, and approval from your town council or homeowners’ association if you live in a building. In many cases, the latter is the slowest part, because other neighbours must give their consent if the charger goes in a shared area. In detached houses, the process is much quicker.
Frequently asked questions about home EV chargers
Can I use a standard socket?
Technically yes, but it is not recommended. A Schuko socket (220 V) charges very slowly (12–15 hours) and can overheat if you use it regularly. The right solution is to install a dedicated wallbox.
How much does it cost to install a wallbox?
The total cost ranges from €800 to €2,000 (equipment + installation + permits). If you need a power upgrade, add another €300–500. It is an investment you recover in 4–6 years thanks to lower charging costs.
Are there grants available?
Yes, many Spanish regions and town councils offer grants for installing chargers. Some offer up to €1,000. Check with your town council or installer.
For more information on renewable energy systems, see our guide to photovoltaic systems.
